We’re being honest here—our feet work their magic hard every single day. They support us for long, grueling days, congested streets, and even the occasional dance party that takes our minds off things. So, how frequently do we ever really take the time to take care of them? Most likely, not as much as we should.
We spend so much time taking care of our hair and face, but our feet, those hardworking sometimes-forgotten parts of us, need some attention as well. A basic pedicure is not just about the aesthetic benefit; it’s about feeling nurtured, calm, and attuned to your own body after a long day.
The good news? You don’t have to set foot in a salon or break the bank to pamper your feet the way they deserve. With a few minutes of your time, some simple steps, and a couple of things you probably have at home, you can take tired, rough feet and turn them into soft, happy ones.
Ready for that relaxing, indulgent magic? Here’s how you can get it.
Step 1: Bid Farewell to Old Nail Polish
Even if you normally cut corners on polish, begin with a light cleansing of your nails with a mild, acetone-free remover. This removes any grime or oils—getting your feet clean and fresh from the start. It’s a mini reboot for your toes.
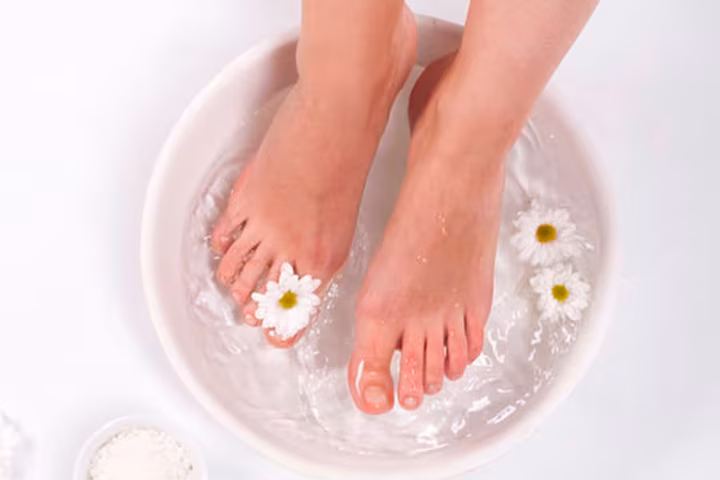
Step 2: Soak and Soothe
Soak a basin with warm water and add a few drops of your preferred shampoo, bath salts, or essential oils. Now, soak your feet for 10–15 minutes. Allow the heat to seep in and loosen the day’s stress, soften your skin, and open your pores. If you feel like an extra indulgence, add some rose petals or lemon slices—it’s a mini spa in the comfort of your own home.
Step 3: Gently Exfoliate
Once soaked, take a moment to exfoliate dead skin with a foot scrub or a straightforward homemade blend of honey and sugar. Target those rough areas—the heels, sides, and under the toes. Then, use a pumice stone or foot file to smooth them out. This step is absolute magic—it smoothes out dryness and leaves the soft skin beneath.
Step 4: Trim and Shape with Care
Use clean nail clippers to cut your nails straight across—this prevents painful ingrown nails. Gently file afterwards to shape and smooth out the edges. Never, ever cut your cuticles! Push them gently back with a wooden stick after softening them with cuticle oil. Treat your nails like darling little jewels.
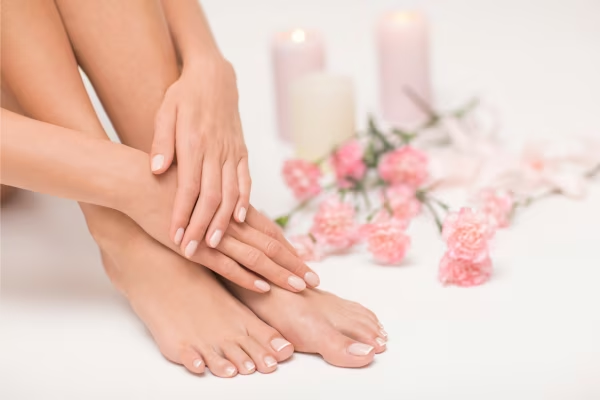
Step 5: Moisturize and Massage—Feel the Love
Now, take your go-to luxurious foot cream or body butter and massage it onto your feet with slow, affectionate circles. Allow your hands to rub in the tired muscles and stimulate circulation. Don’t skip your ankles and calves—those need love also! This is not just skincare; this is an act of profound care and connection.
Step 6: Prep Your Nails for Polish
Wipe the excess cream off your nails with a little nail polish remover so your polish will adhere more. Putting on a base coat is a little extra TLC that will protect your nails and keep them healthy.
Step 7: Paint with Joy
Last but not least, use two thin layers of your preferred nail color, allowing each to dry completely. Top with a top coat to seal in that glow and extend the life of your manicure. If polish isn’t your thing, a clear strengthener coats your nails to keep them strong and shiny.
Also Read : Best Ingredients for Anti-Aging Skincare: What Really Works


