Taking care of your skin is one of the best forms of self-care, and with the right products and techniques, you can create a relaxing, spa-like experience at home. Here’s a detailed, step-by-step guide to achieving the perfect at-home facial.
Step 1: Cleanse
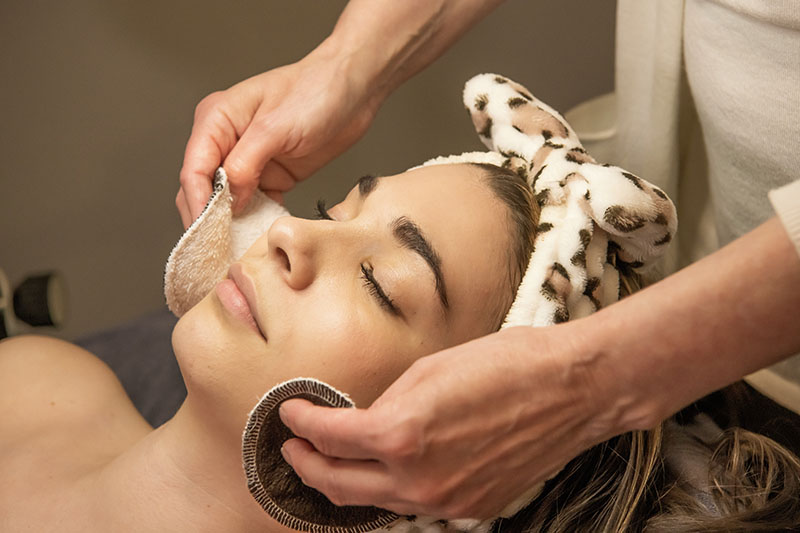
Cleansing is the foundation of any skincare routine. Starting with a clean slate allows your skin to better absorb the following treatments.
- First Cleanse (Makeup Removal): Use an oil-based cleanser to break down makeup and impurities. Massaging the cleanser onto dry skin first helps dissolve makeup effectively, followed by a second round with wet fingertips to emulsify the product and rinse it off.
- Second Cleanse (Deep Cleansing): After makeup removal, cleanse with a gentle foaming or gel-based cleanser to remove any remaining residue. Opt for a sulfate-free product with nourishing ingredients to avoid stripping your skin’s natural oils.
Product Recommendations:
- Oily Skin: Farmacy Clean Bee Ultra Gentle Facial Cleanser
- Dry Skin: Renée Rouleau Vitamin-Infused Cleansing Emulsion
- Normal Skin: CeraVe Renewing SA Cleanser
Step 2: Exfoliate
Exfoliating removes dead skin cells and allows the products you apply afterward to penetrate deeper.
There are two main types of exfoliators:
- Physical Exfoliators: Scrubs or tools like microdermabrasion wands that physically remove dead skin.
- Chemical Exfoliators: Acids like glycolic or lactic acid that dissolve dead skin cells.
Recommendation: Start with a chemical exfoliator, such as Drunk Elephant T.L.C. Sukari Babyfacial AHA + BHA Mask, and leave it on for 10 minutes. Follow up with a physical exfoliator like Tata Harper Regenerating Cleanser for extra exfoliation.
How Often to Exfoliate:
- Oily Skin: 4-5 times a week
- Dry Skin: Once a week to avoid irritation
Step 3: Steam
Steaming helps open pores, increases blood flow, and provides hydration to the skin. It also softens blackheads, making extractions easier.
How to Steam:
- Use an at-home facial steamer or place a towel over your head and hover over a bowl of hot (but not boiling) water. Steam for 5-10 minutes.
- Follow up with a moisturizing product to lock in hydration.
Tip: Never leave skin bare after steaming, as it can cause moisture loss.
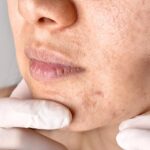
Extraction removes blackheads and clogged pores. If done improperly, it can damage the skin, so proceed with caution.
Step 4: Extract
How to Extract:
- Cleanse and steam your skin to open pores.
- Use a blackhead extractor tool or clean fingers (wrapped in tissue).
- Apply gentle pressure to the blackhead. If it doesn’t come out, stop and move on.
- Apply an acne treatment to calm the area.

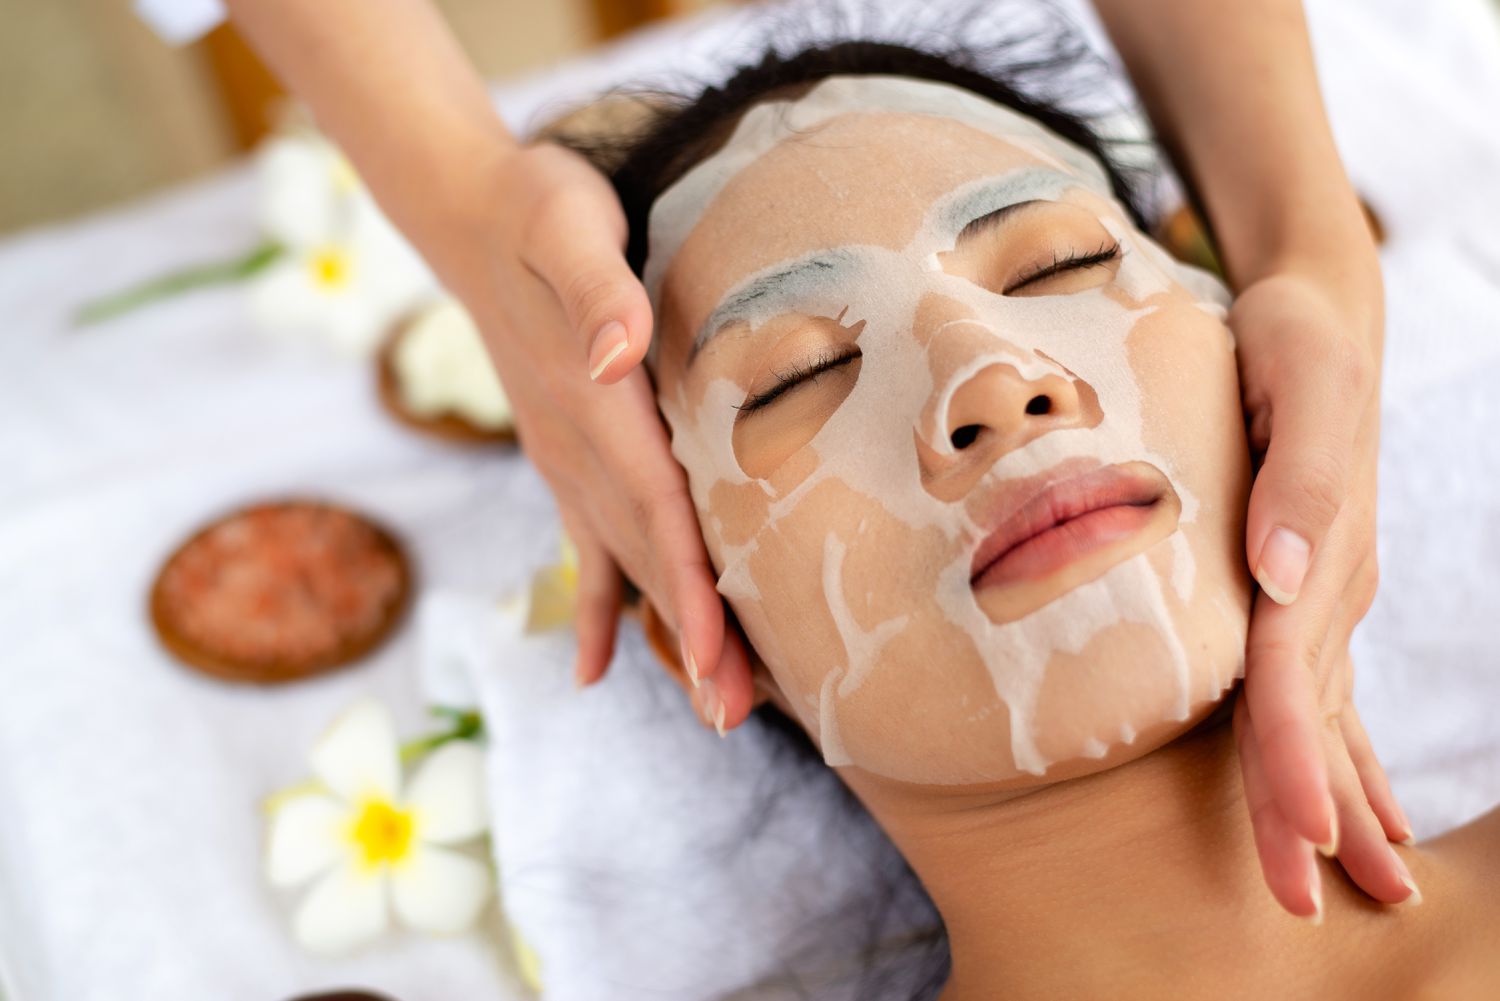
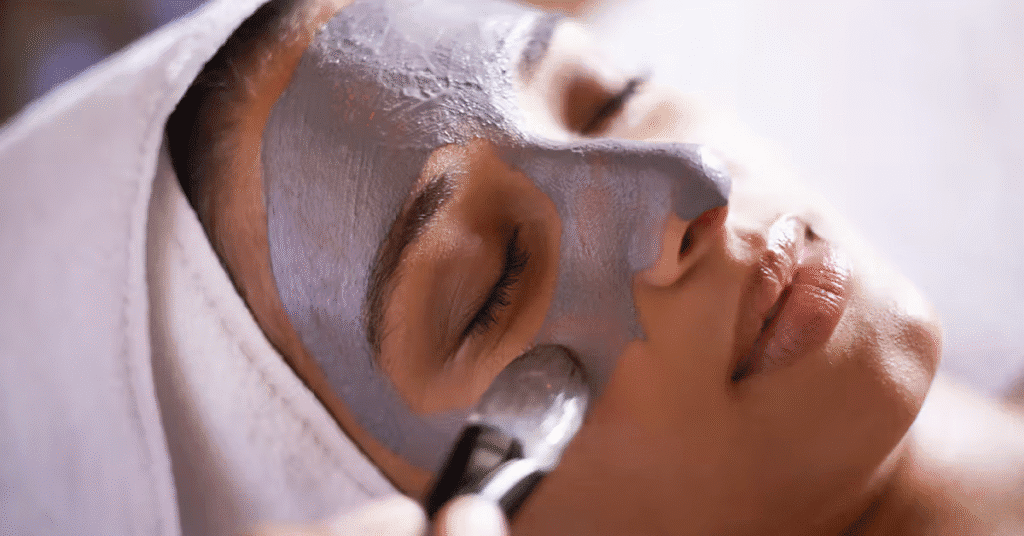
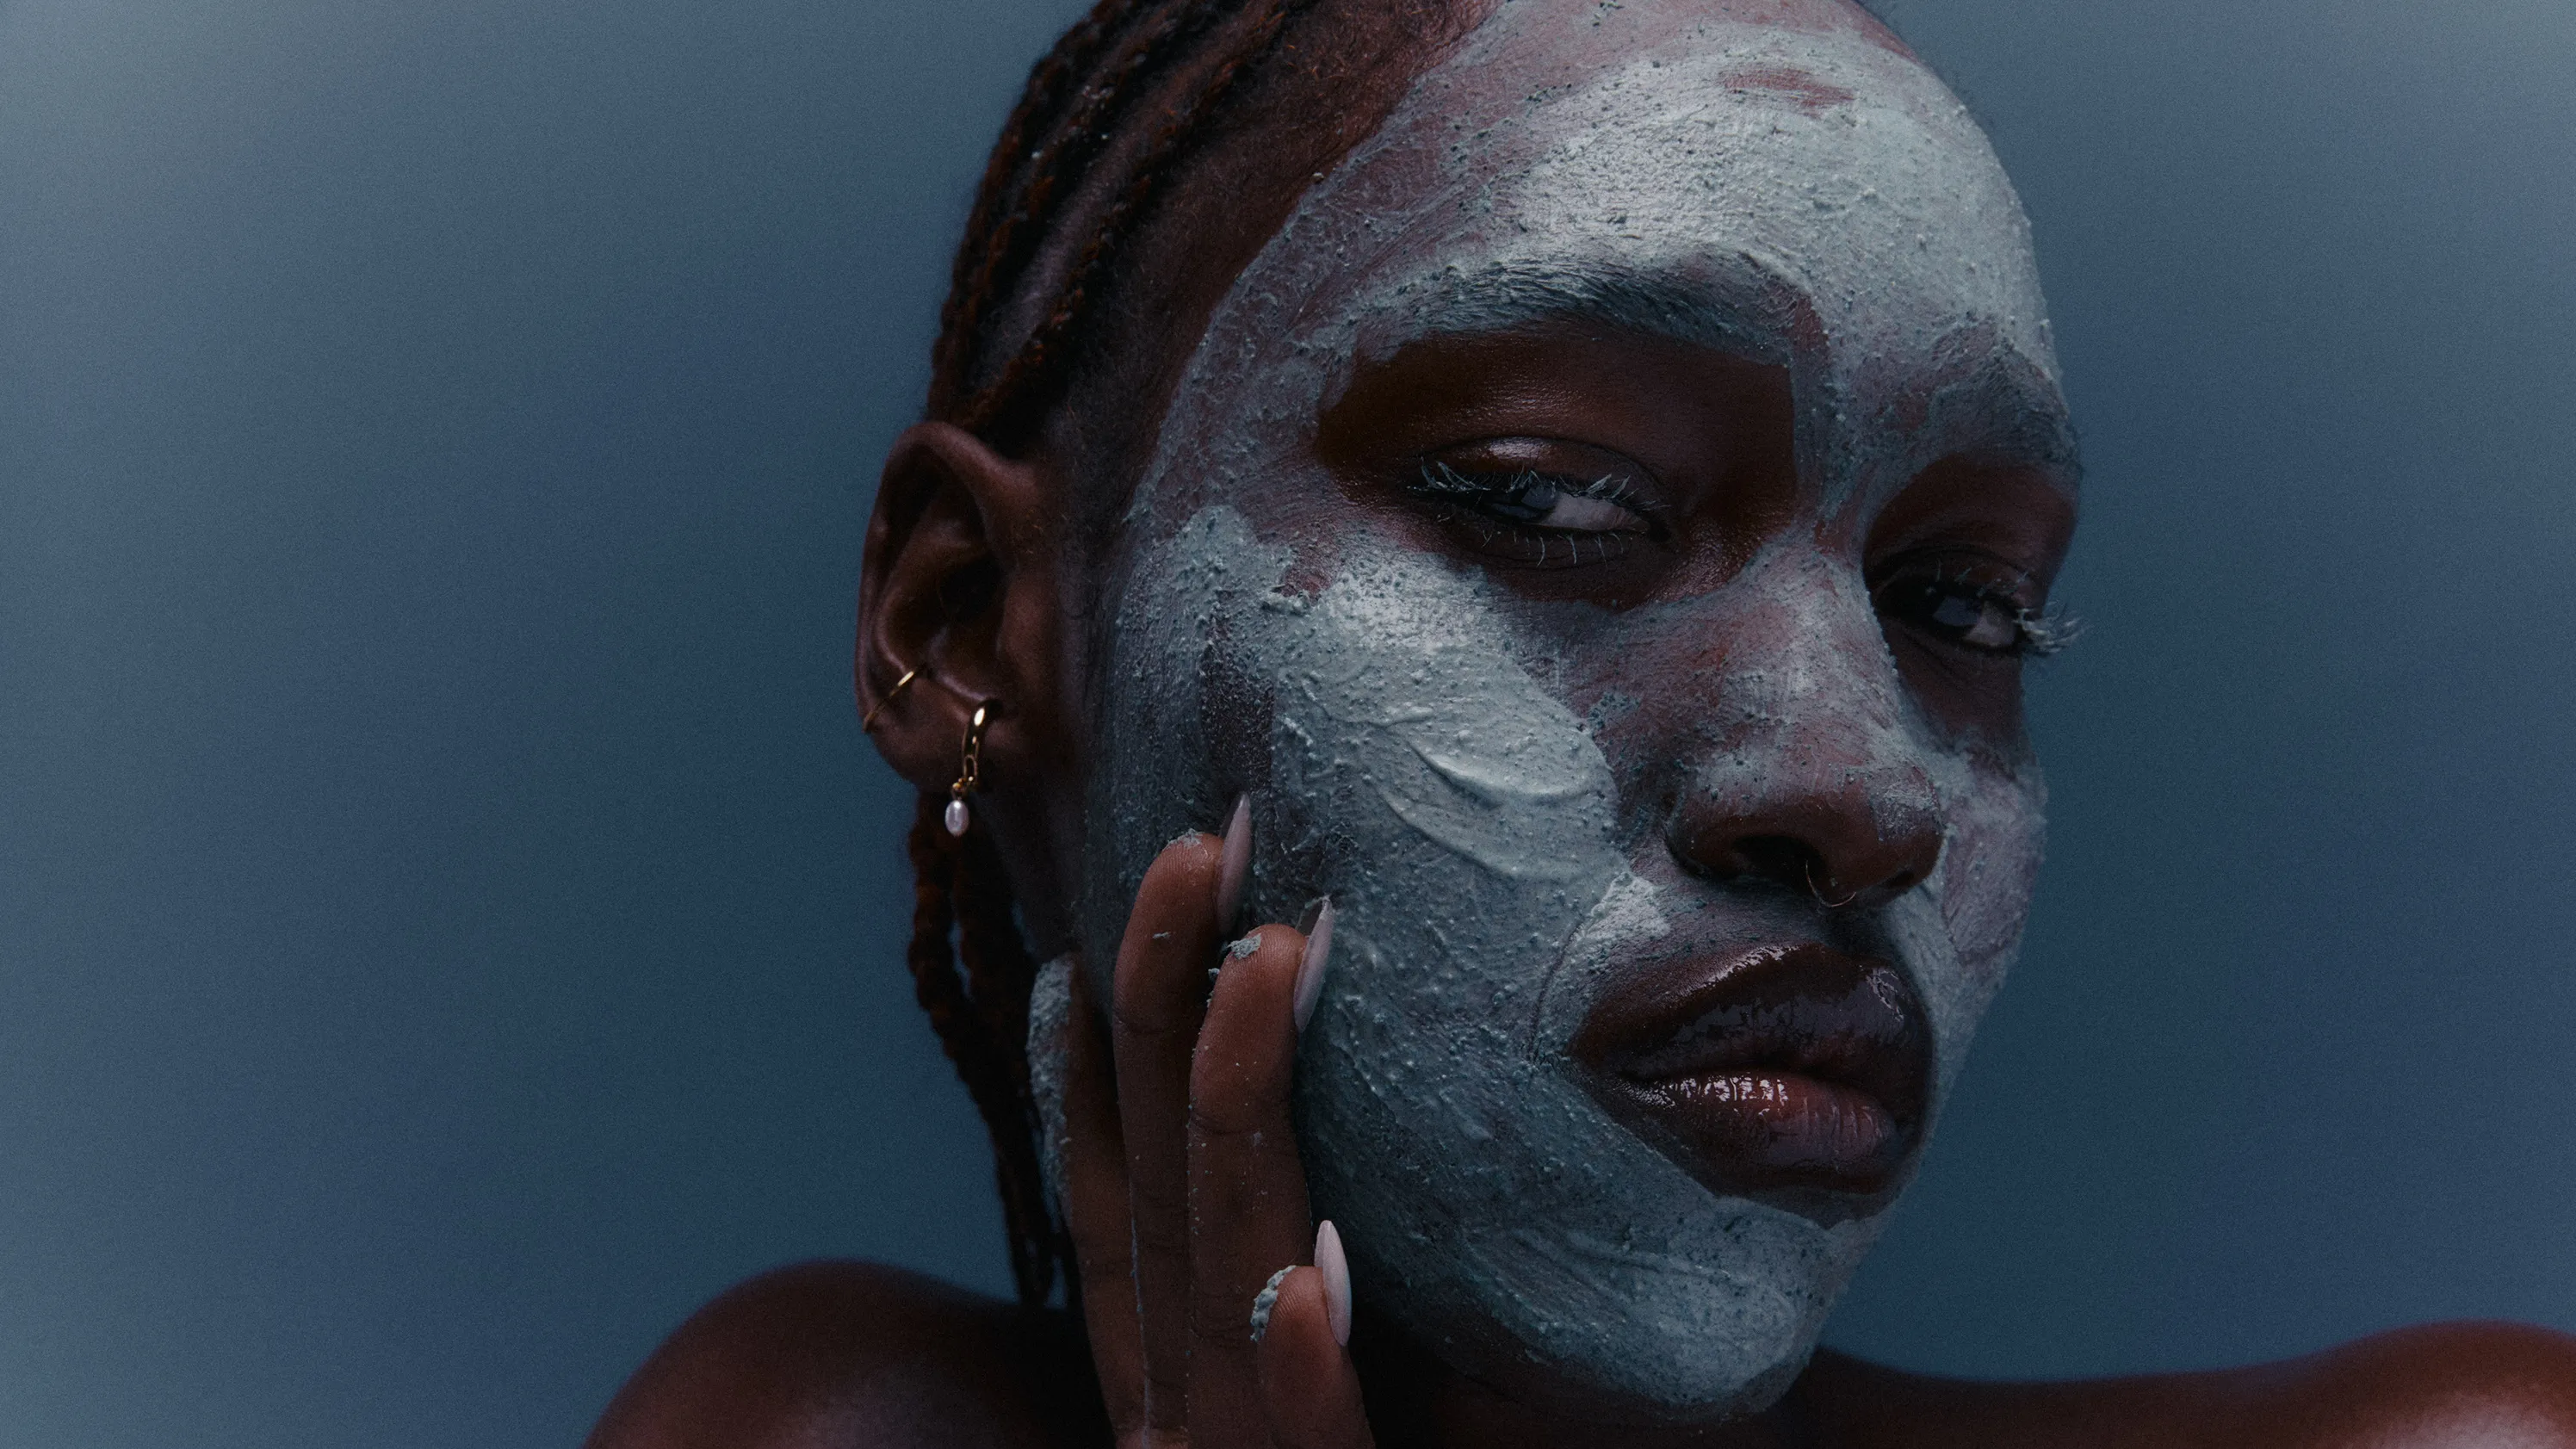
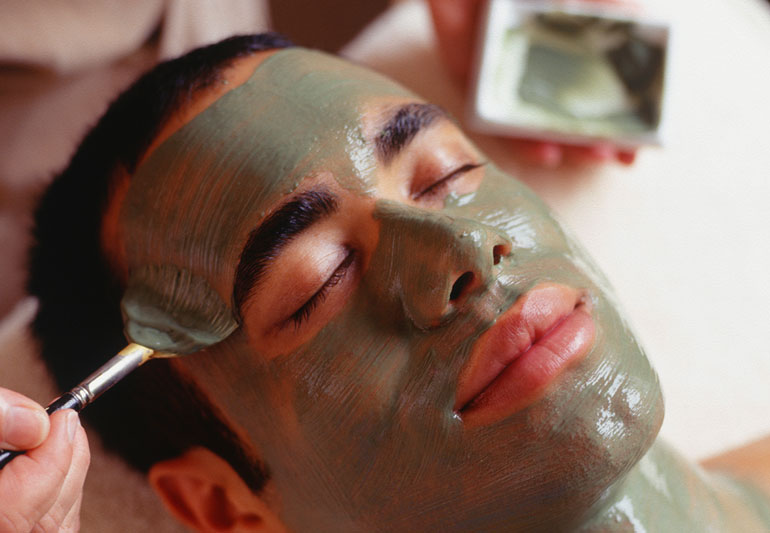
Step 5: Mask
Masks offer deep nourishment, detoxification, or hydration, depending on your skin’s needs.
Types of Masks:
- Gel Masks: Cooling and calming, great for sensitive or red skin (e.g., Glow Recipe Watermelon Glow Sleeping Mask).
- Clay Masks: Draw out impurities, perfect for oily skin (e.g., Origins Original Skin Retexturing Mask with Rose Clay).
- Cream Masks: Hydrate dry skin with nourishing ingredients (e.g., FAB Pharma Arnica Relief & Rescue Mask).
- Sheet Masks: Provide water-based hydration, ideal for dry skin (e.g., Tatcha Luminous Dewy Skin Mask).
Leave your mask on for 10-20 minutes before removing it with a damp washcloth.
How to Massage:
- Use your fingers or a facial tool like a jade roller or Gua Sha.
- Start from the center of your face and move outwards in upward motions.
- Be gentle when massaging around the eyes to avoid tugging on the delicate skin.
Tip: If your skin is oily, add a few drops of facial oil (jojoba or sesame oil) to balance sebum production.
Conclusion
An at-home facial can be an incredibly relaxing and effective way to care for your skin. By following these eight steps — cleansing, exfoliating, steaming, extracting, masking, treating, moisturizing, and massaging — you can recreate a professional spa experience in the comfort of your home. Tailor each step to your skin type and concerns, and enjoy the benefits of healthier, more radiant skin.
Also Read : Why Sunscreen Is Essential for Aging Prevention: Protect & Preserve Your Skin!